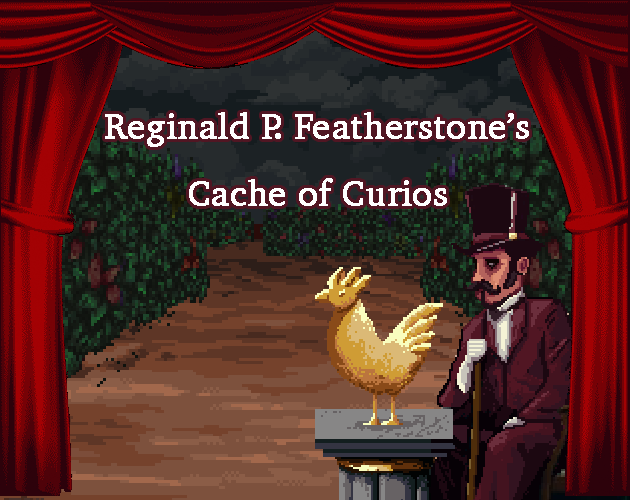
Retro Dungeon Crawler Graphics for #DCJam2025

This was a great game jam! I got everything I wanted out of it and ended up creating a game I'm very proud of.
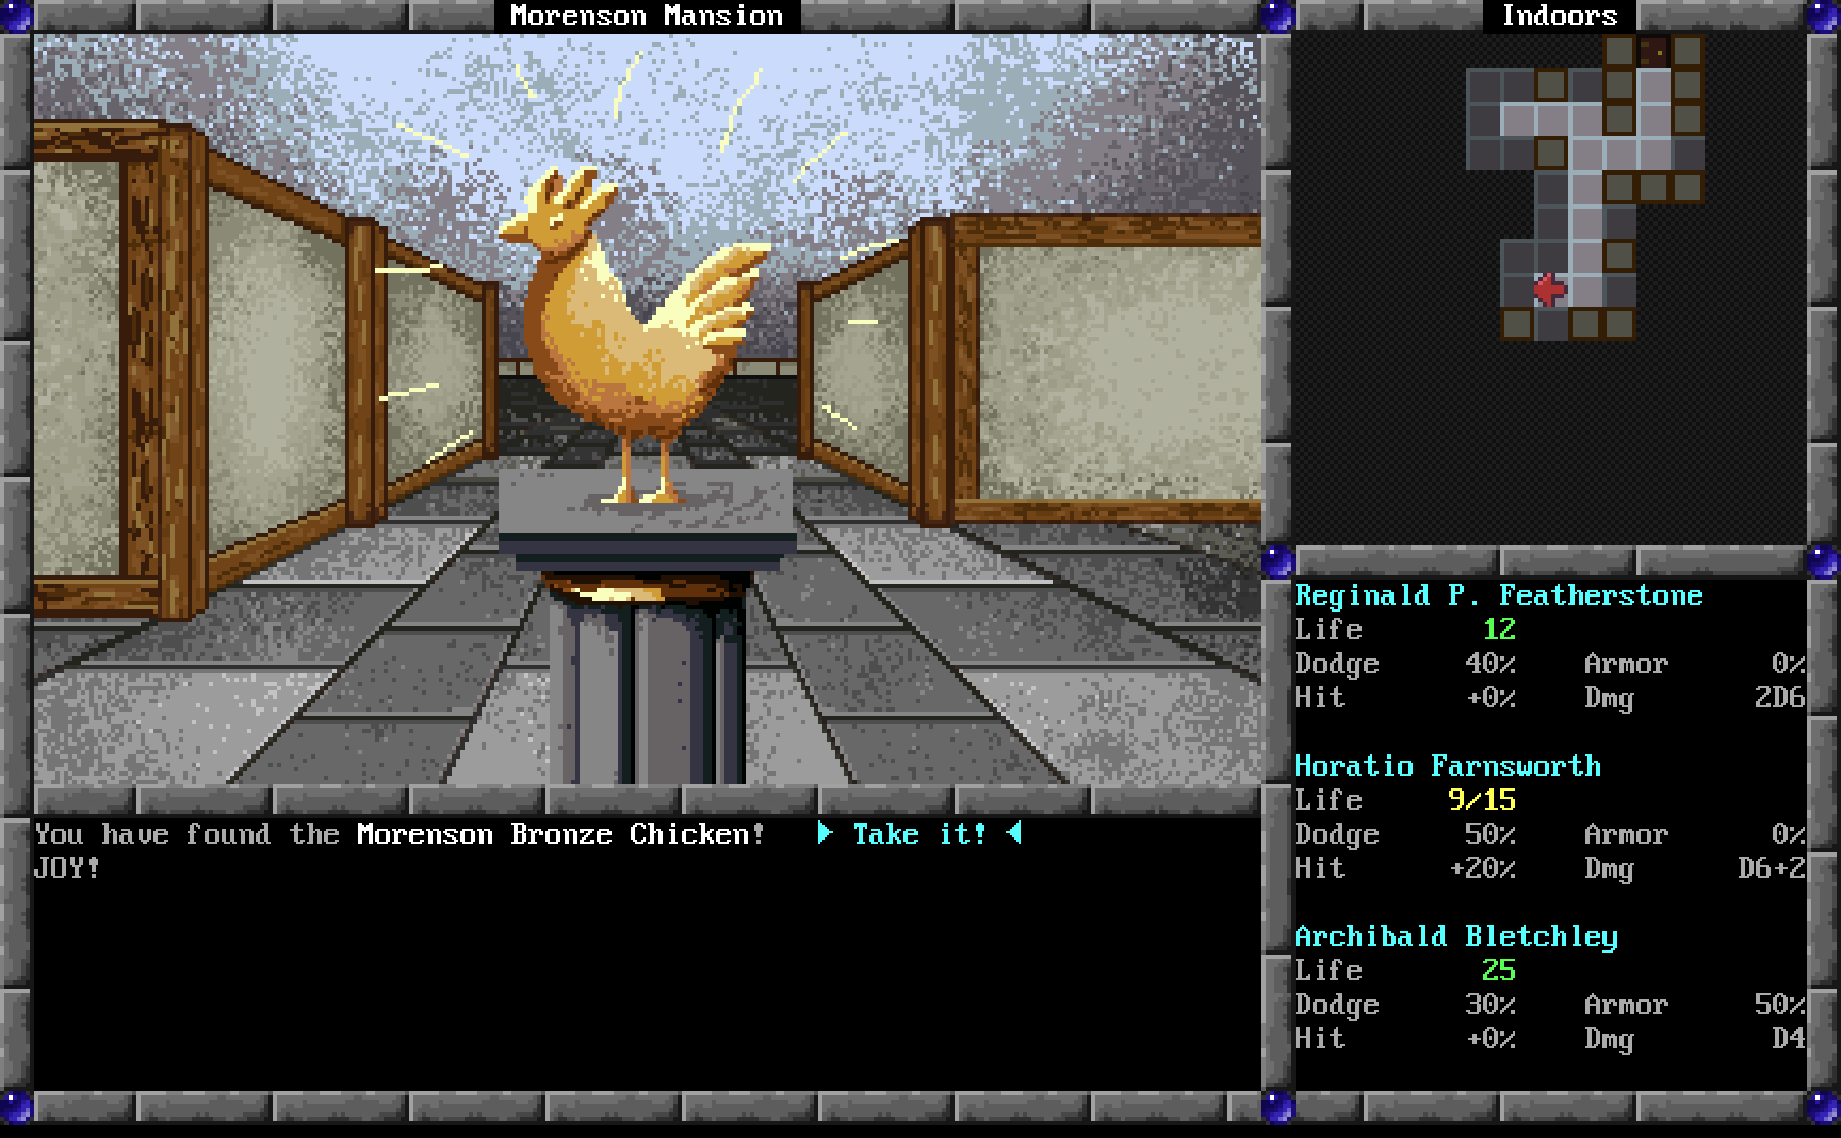
Reginald P. Featherstone's Cache of Curios is a dungeon crawling game where you walk around on a grid, turn 90 degrees at a time, and experience three different adventures. The project was created entirely to enable me to play with a lot of toys I wanted to play with and to have a very clean, low tech debt codebase to work from because my day job has very much been "not that" lately.
This postmortem is about the graphics and how I created an early 1990s retro coding coding environment in Unity. What I created enabled me to write graphics code that resembles how we did things back then. It also enabled me to create and work with graphics assets similar to the 1990s.
How the graphics system works
In 1994 Sams Publishing released a big titled "Tricks of the Game Programming Gurus" by LaMothe, Ratcliff, Semanitore and Tyler. Books like these taught us how to do cool things like put pixels on the screen in VGA mode 13h. You get a pointer to memory and you just write the color values you want and that was your graphics API.
So simple, if you want a red pixel in the top left corner you just write a red pixel to the first element of the graphics buffer array. It was really just an array of pixels and these pixels were just, on the screen.

So I wanted to create that for this game's graphics. Basically I needed to create texture (`Texture2D`) and write my pixels to that texture as though it were the video ram buffer of a VGA card. I then put in on a Unity UI Image which is just a sprite on the screen.
Actually creating the image was done by having the world be split into pre-rendered (*ahem*, pre-*drawn*) pieces and then they are drawn on top of each other.
This is called Painter's Algorithm.
Modern GPUs usually render things front to back and they keep track of which pixels have already been written so they can skip those in what's called a "depth buffer." But that only makes sense for modern GPUs because they have very computationally expensive pixel rendering (done by *Pixel Shaders*). Writing my system, just like in the VGA days, means just copying data. The computational cost of checking a depth buffer to see if the pixels have been written is so much higher than just writing the pixels so I just do things back to front because it's the fastest and easiest method.
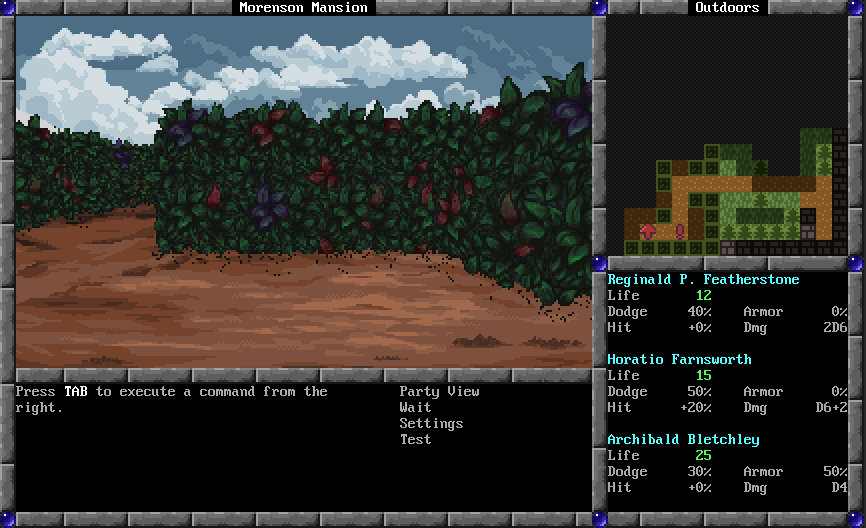
Rendering the ceiling and ground
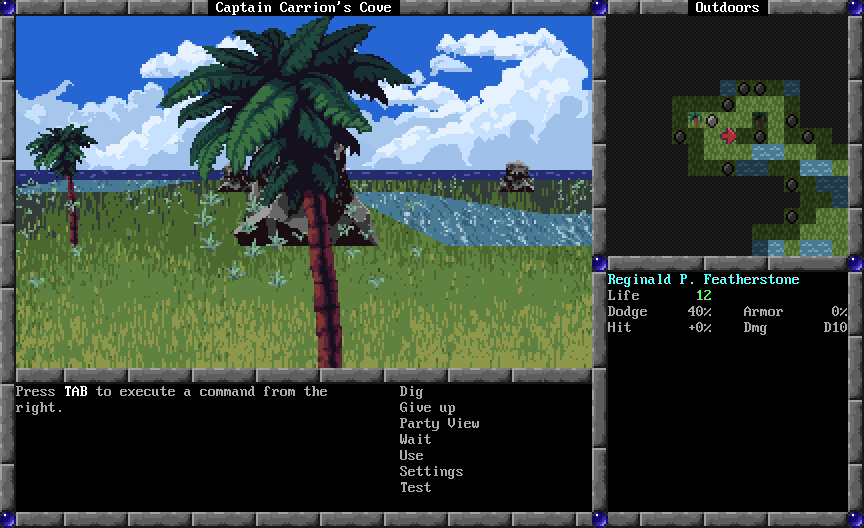
This game divides the world into a grid with each grid cell containing a ground and/or wall. I didn't draw a series of individual ground cells, rather I just drew a few full grounds that fill the bottom half of the screen and the renderer just takes the patches it wants. So if I have an area that is mostly grass ground with a dirt road in the middle of it the renderer copies the pixels for the center area from the dirt ground and for the rest it copies the pixels from the grass ground.
Now, you may be asking yourself "how does it know which pixels go to which cell"? and that's a great question. It's really interesting how this works.
Basically I have a special "source patchwork image" which I created that has all the areas for each cell drawn on to it in different, unique colors.

Then I store in a data structure somewhere what "in world offset" from the camera these colors represent. Medium blue? That's two cells forward and one to the left. Bright pink? That's four cells forward and five to the left.
So it reads every pixel on the source patchwork image, looks up the coordinates in the world of the cell, and then checks the cell to see what ground has and renders the corresponding pixel from that ground.


Rendering the walls
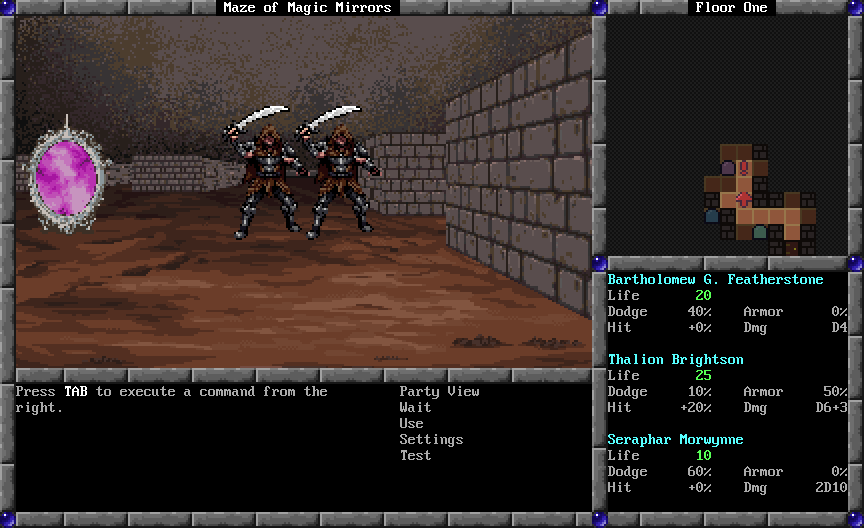
The walls are drawn individually. The walls have two components, the front-facing part and the side-facing component. So if the camera is directly in front of a wall then only the front-facing portion is rendered. If the wall is to the left or the right of the camera then the front-facing portion is rendered, but moved to the left/right, and the side facing portion is rendered as well.
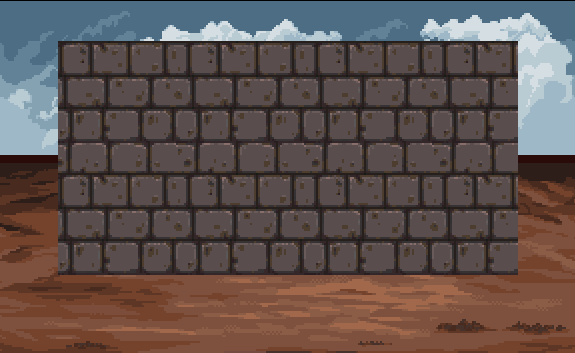

Notice how the front facing wall is simply slid to the left (and mostly clipped by the screen).
In order for this to work I needed to draw a *lot* of walls. I need to draw the walls for each distance and for each horizontal offset for the side walls. Have a look at what this looks like it Aseprite.


As it turns out I needed to create 4 front facing walls at different depths, 1 side wall for "immediately to the side of the camera", 1 side wall for "1 step forward", 2 side walls for "2 steps forward", 4 side walls for "3 steps forward" and 5 side walls for "4 steps forward". With the exception of a couple of the 4 steps forward ones right at the edge none of them could be copy/pasted because they all have different perspectives and therefore slightly different shapes. All in all in order to create a single wall texture I needed to create 4 front facing walls and 13 side facing walls for a total of 17 images!
There are many art workflow optimizations that could be applied here to make life easier but, in order to keep this article somewhat reasonable in length, I'm going to omit them since they didn't really work for me.
What's even crazier is that I did this twice because every wall texture has two versions of itself so when you walk down a corridor you can see alternating versions of the same wall. This prevents them from looking too samey. Notice the two versions of the front facing wall:


Note that for most of the side walls I couldn't be bothered to make duplicates. For many of the front facing walls I just flipped them horizontally and/or vertically to create Alt versions but yes, this all had to happen. So 34 images need to exist for a single wall, although the engine was smart enough to not care if an "Alt" image was missing and just re-use the main one. Note the hedge maze was the first main wall tileset I created and it was, by far, the most work. Note that for this one I started from an image from a tileset asset pack I licensed:

Rendering the creatures
Creature rendering (and objects such as treasures and trees) was fairly simple. I have a single image and the further away from the camera it is the smaller I scale it and the more I move it vertically up the screen. I needed to write the scaling algorithm for the jam and it scales using nearest-neighbor sampling.


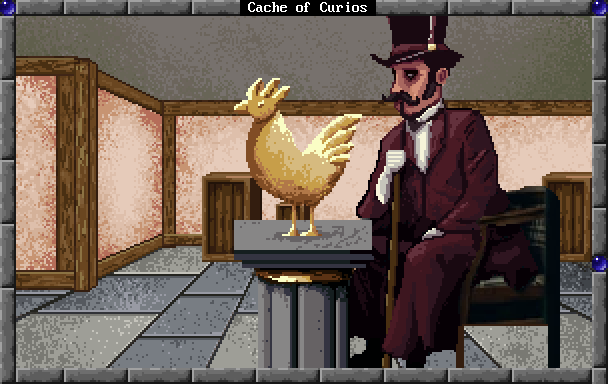
Final result
I'm really happy with how this turned out. I have a lot more to say about this such as how I accomplished pixel-perfect graphics or how I used an comically overengineer text rendering system inspired by Boorland's TurboVision but I'll leave that for a future article I may or may not write :)
I hope you enjoy Reginald P. Featherstone's Cache of Curios!


Leave a comment
Log in with itch.io to leave a comment.